MMA Integration · Foundations
Level 1
Curriculum
Phase awareness, basic transitions and MMA fundamentals
Foundational Intermediate Advanced Fight Team
Overview
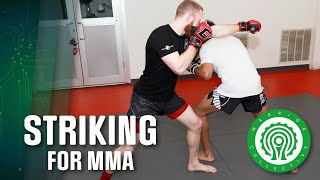
MMA Integration Level 1 teaches you to understand MMA as a multi-phase system — striking, clinch, takedown, ground — and to transition between these phases with awareness.
At this level you are not yet combining disciplines fluidly, but you understand the logic of how they connect and can make safe, basic transitions between standing and ground.
What you will learn
Phase awareness
- Striking to clinch transitions
- Clinch to takedown logic
- Ground phase awareness
- Phase decision-making
- Range identification
Basic transitions
- Strike to takedown setup
- Takedown to guard pass
- Guard pass to ground control
- Stand-up from ground
- Clinch to strike exit
MMA fundamentals
- MMA stance and guard
- Cage awareness
- Ground and pound basics
- Submission defence basics
- Fighting off your back
Modules
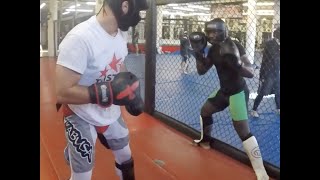
01 — MMA Phase Awareness & Range Identity
02 — Defensive Responsibility in Each Phase
03 — Level-Change Feints & Shot Setups
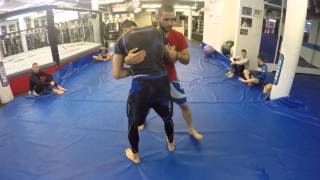
04 — Strike to Clinch to Takedown Pathways
05 — Takedown Defence Integration
01
MMA Phase Awareness & Range Identity
Phase awareness striking clinch wrestling ground · Range identity MMA
02
Defensive Responsibility in Each Phase
Defensive responsibility each phase
03
Level-Change Feints & Shot Setups
Reaction timing and anticipation timing · Level-change feints and shot setups · High-low feinting
04
Strike to Clinch to Takedown Pathways
Strike to clinch to takedown pathway · Jab to collar tie · Cross to underhook · Underhook to body lock
05
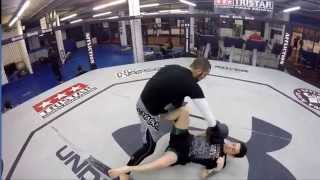
Takedown Defence Integration
Takedown defence in striking context · Anti-wrestling footwork striking
Videos
01MMA Phase Awareness & Range Identity
How to Fight in the Clinch tutorial - Muay Thai Knee Bump Coach Firas Zahabi
Tristar Gym
Phase awareness striking clinch wrestling ground
MMA Ground and Pound Tutorial - Coach Firas Zahabi
Tristar Gym
Phase awareness striking clinch wrestling ground
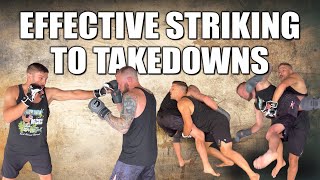
Using Effective Striking for Takedowns
Effective Martial Arts
Phase awareness striking clinch wrestling ground
Clinch Takedown - Turning the Corner from Over Under Position - Firas Zahabi
Tristar Gym
Phase awareness striking clinch wrestling ground

Master range for MMA & Muay thai with this one trick
Ben Woolliss
Range identity MMA

Develop Your Fight IQ in MMA: Complete Fight IQ Guide (Breakdown of GOATs & Elite Fighters)
LF MMA
Range identity MMA

TREVOR WITTMAN EXPLAINS RANGE CONTROL AND TIMING THE JAB FOR MMA
Dan Hardy | Full Reptile
Range identity MMA
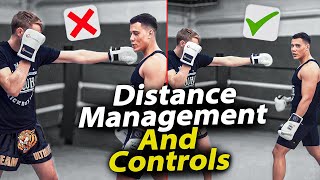
Be A Master Of DISTANCE MANAGEMENT: The Most Important Part Of Fighting | BAZOOKATRAINING.COM
Bazooka Joe Valtellini
Range identity MMA
02Defensive Responsibility in Each Phase

The Defensive Responsibilities in MMA - Jack Slack
Jack Slack
Defensive responsibility each phase

Firas Zahabi shares 3 Ways to Defend the Jab
Tristar Gym
Defensive responsibility each phase
Muay Thai Frame Defense - Firas Zahabi
Tristar Gym
Defensive responsibility each phase
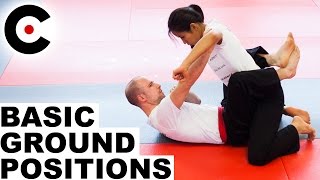
Ground Fighting 8 Basic Positions & Key Principles
Effective Martial Arts
Defensive responsibility each phase
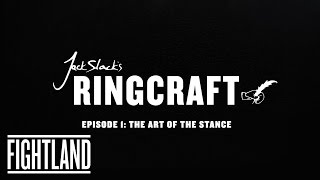
Jack Slack's Ringcraft: The Art Of The Stance
Jack Slack
Defensive responsibility each phase
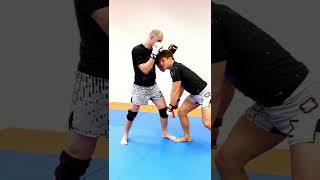
03Level-Change Feints & Shot Setups
Firas Zahabi shares 3 Ways to Defend the Jab
Tristar Gym
Reaction timing and anticipation timing
MMA | Using Level-Changing Feints to Open Up the Takedown
D&A Striking
Level-change feints and shot setups
MMA | Using Level-Changing Feints to Open Up the Takedown
D&A Striking
High-low feinting
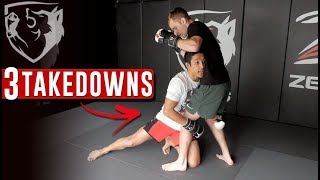
3 Takedown Setups for MMA
Bernardo Faria BJJ Fanatics
Level-change feints and shot setups
How to Shoot (Wrestling Basics for MMA) - Level Change, Penetration Step & Key Follow-Ups!
Precision Striking
Level-change feints and shot setups

10 Feints for Better Fighting!! Sparring with Feints
fightTIPS - Shane Fazen
Level-change feints and shot setups
Stylebender Technique Breakdown - Feinting
FREESTYLEBENDER
High-low feinting
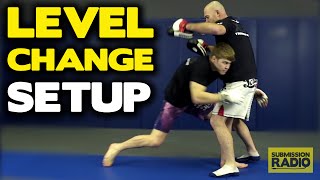
Takedown SETUP, using level-change and strikes - by UFC Lightweight Jake Matthews
Submission Radio
High-low feinting

5 Ways to Use 'Fakes & Feints' in MMA Fight
fightTIPS
High-low feinting
3 Ways to Set Up the Double-Leg Takedown in MMA
fightTIPS
High-low feinting

Set Up Your Takedowns Like GSP | Takedown Timing for MMA
MMA IQ
High-low feinting

Jack Slack's Ringcraft: The Three Initiatives
VICE Sports
Reaction timing and anticipation timing
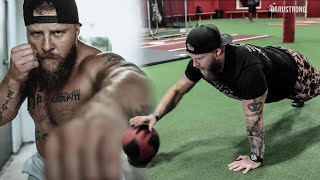
Use These Exercises to Increase Reaction Time for MMA & Boxing
Daru Strong
Reaction timing and anticipation timing

Conditioning and Reaction Time Drills for Boxing & MMA
Daru Strong
Reaction timing and anticipation timing
04Strike to Clinch to Takedown Pathways
How to Fight in the Clinch tutorial - Muay Thai Knee Bump Coach Firas Zahabi
Tristar Gym
Strike to clinch to takedown pathway
Clinch Takedown - Turning the Corner from Over Under Position - Firas Zahabi
Tristar Gym
Strike to clinch to takedown pathway

How to Strike to the Clinch | UFC Training
Howcast
Strike to clinch to takedown pathway

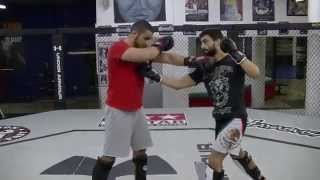
How to Enter the Clinch and Throw Knees - MMA & Muay Thai
ExpertVillage Leaf Group
Strike to clinch to takedown pathway
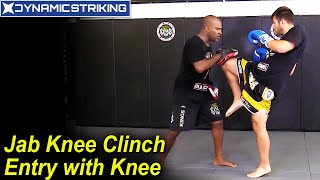
Jab Knee Clinch Entry with Knee by Rafael Cordeiro
Dynamic Striking
Jab to collar tie

MMA Technique : Collar Tie Clinch Striking
Unknown
Jab to collar tie

4 Collar Tie Takedowns Into Submissions & Sick MMA Cage Applications Catch Jiu-jitsu Wrestling
Focus Dojo MMA
Jab to collar tie

TAKEDOWNS from the collar tie
Unknown
Jab to collar tie
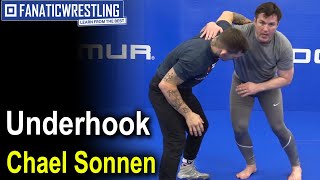
Underhook Fundamentals by Chael Sonnen
Fanatic Wrestling
Cross to underhook
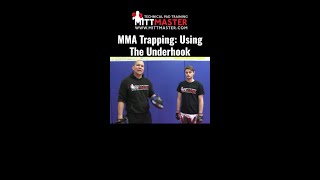
MMA Trapping Getting The Underhook
Unknown
Cross to underhook
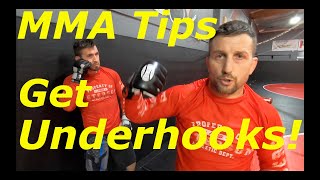
How to Initiate the Clinch Without Eating a Punch — UFC VETERAN Nordine Taleb
VAHVA Fitness
Cross to underhook
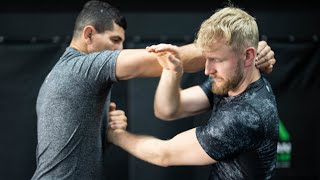
MMA Tips! Control Your UNDERHOOK and Strike!!
TeachMeGrappling
Cross to underhook

Shot Recovery to Underhook Body Lock Throw by Mitch McKee
Fanatic Wrestling
Underhook to body lock
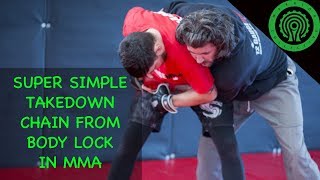
Simple Takedown Chain from the Body Lock for MMA with Matt Thorpe
Warrior Collective
Underhook to body lock

Bodylock takedowns for BEGINNERS
Chewjitsu
Underhook to body lock
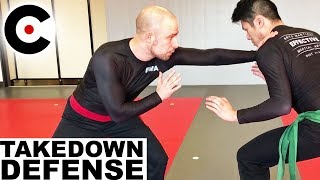
05Takedown Defence Integration

Stop a Wrestler's Double-Leg Takedown w/ Firas Zahabi
Tristar Gym
Takedown defence in striking context
Stop a Wrestler's Double-Leg Takedown w/ Firas Zahabi
Tristar Gym
Anti-wrestling footwork striking
Takedown Defense - 5 Layers from Prevention to Last Resort | Effective Martial Arts
Effective Martial Arts
Takedown defence in striking context

Defend Takedown Attempts and Counter with Knees or the Guillotine for MMA and Self Defense
Hard2Hurt
Takedown defence in striking context
Takedown vs Striker - How to avoid the Knee & the Biggest mistake Grapplers make - Advanced MMA
Effective Martial Arts
Takedown defence in striking context
How To Use Striking To Prevent A Takedown
Bang Muay Thai
Anti-wrestling footwork striking
MMA Training - 3 Ways to Use Defensive Footwork & Angles when Striking with Jamie Crowder
Renzo Gracie Academy
Anti-wrestling footwork striking